The single most useful concept in controlled photography is three-point lighting. It is a framework borrowed from theater and adapted to still photography in the early 20th century, then re-borrowed by cinema, and now used in every kind of controlled imaging from corporate headshots to feature films to YouTube talking-head videos. The framework breaks lighting into three roles: the key light defines the subject, the fill light controls shadow depth, and the back light separates subject from background. Once you internalize what each does, you can build any lighting setup from scratch, troubleshoot any setup that is not working, and read any photograph in seconds to see how it was lit.
The key light
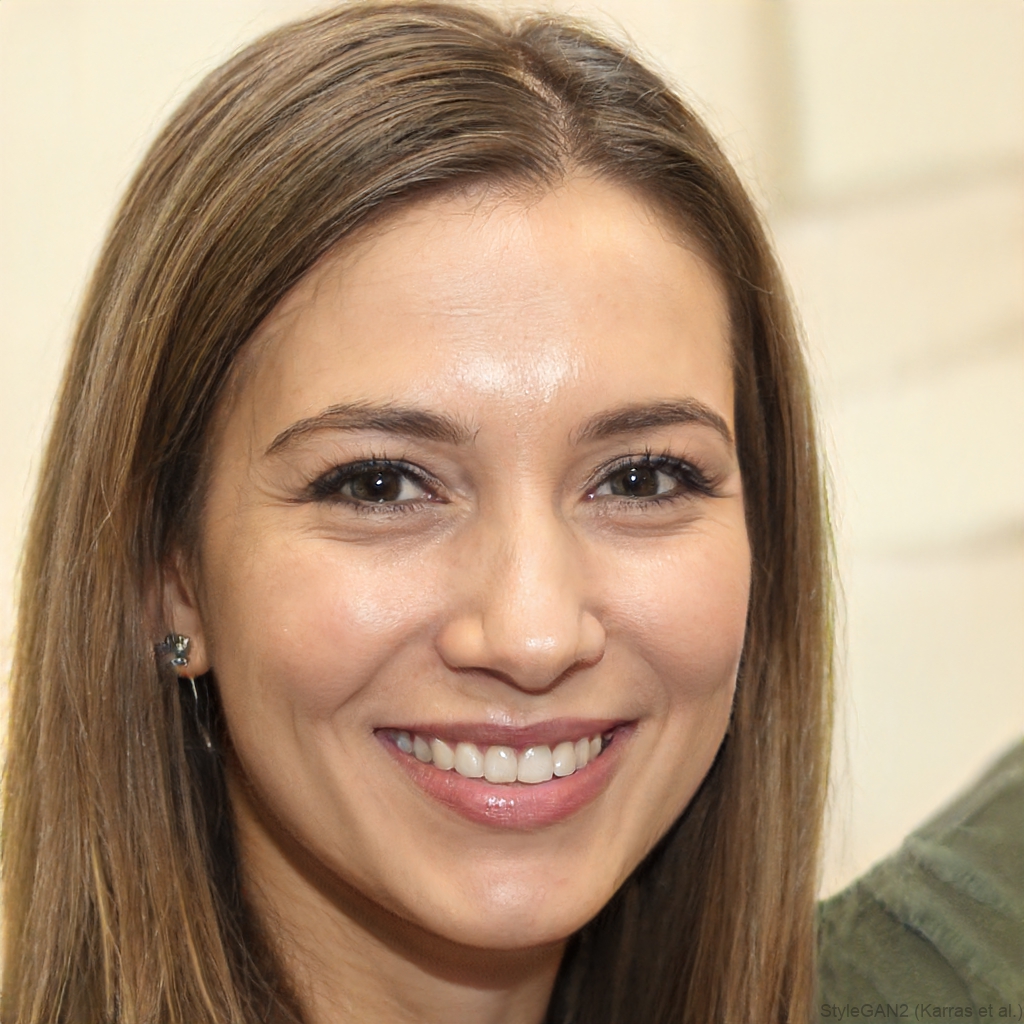
The key light is the main light. It is the brightest, most directional light source, and it defines the shape and texture of the subject. Without a key light, there is no photograph.
In a natural light portrait, the key light is the window. In an outdoor portrait at noon, the key light is the sun. In a studio portrait, the key light is the main strobe or LED panel. In a phone selfie, the key light is whatever happens to be the brightest source nearby.
The position of the key light determines the lighting style. A key light at 45 degrees to one side of the subject and slightly above (the classic Rembrandt position) produces a triangular highlight under the eye on the shadow side of the face. A key light at 90 degrees to one side produces dramatic split lighting, with one side of the face fully lit and the other fully in shadow. A key light directly in front of the camera (on-axis lighting) produces flat, low-shadow lighting that flatters skin but feels less three-dimensional.
The size of the key light, relative to the subject, controls how soft the shadows are. A big key light (a large softbox close to the subject, or a large window) produces soft shadows with gentle transitions. A small key light (a bare bulb, a phone flash, the sun on a cloudless day) produces hard shadows with sharp edges.
The fill light
The fill light is the secondary light. Its job is to reduce shadow depth on the side of the subject the key light cannot reach. Without a fill, shadows go completely black, which works for dramatic or moody portraits but reads as harsh for most subjects.
The fill is always less bright than the key. The ratio of key brightness to fill brightness is one of the most important variables in any setup. A 2:1 key-to-fill ratio (one stop difference) produces soft, low-contrast lighting that flatters most faces and reads as commercial-style. A 4:1 ratio (two stops) produces more dramatic, contrast-driven lighting. An 8:1 ratio or higher produces near-noir lighting with deep shadows.
The fill light does not always need to be a separate light fixture. A white reflector positioned on the shadow side of the subject bounces the key light’s spill back into the shadow side, acting as a fill at no extra power or equipment. The trade is that the reflector cannot be brighter than the key (it can only return a fraction of what hits it), so a fill reflector typically produces 4:1 to 8:1 ratios depending on how close it is.
For a continuous-light setup, the fill is often a second LED panel set at one to two stops less power than the key. For flash setups, the fill is a second strobe at one to two stops less power. For outdoor work, the fill is often a silver or white reflector held by an assistant.
The back light
The back light is the third light, positioned behind the subject and aimed back toward the camera. Its job is to separate the subject from the background by creating a rim of light along the hair, shoulders, or edges of the body.
Without a back light, dark-haired subjects against dark backgrounds visually merge into the background. With a back light, even a black-haired subject against a black background reads as a distinct figure because the rim light defines the silhouette.
The back light is typically the brightest of the three lights relative to the area it illuminates, often equal to or slightly brighter than the key. Because it lights a small area (the edges of the subject) rather than a large area (the full face or body), it does not need to overpower the key visually; it just needs to be bright enough that the rim it creates registers in the final image.
Position varies. A back light directly behind the subject at ear height produces an even halo around the hair. A back light high and behind, aimed at the top of the head, produces a top-light highlight on the hair (often called a hair light specifically). A back light to one side and behind, aimed at the shoulder, produces a single-sided rim light that adds drama.
The back light is the most optional of the three. Many portraits work fine with just key and fill. Add the back light when the subject needs more separation from the background, when you want a more polished, commercial look, or when the background is a similar tone to the subject.
Two-point lighting and one-point lighting
You can do excellent work with fewer than three lights.
One-light setups (just a key, plus negative fill or natural ambient) produce dramatic, sculpted portraits that emphasize shape and texture. Most film noir lighting is one-light. Many editorial headshots use one large softbox plus a black flag on the opposite side to deepen shadows.
Two-light setups (key plus fill, or key plus back) are workhorses for everyday portrait and event work. A key plus a soft fill produces commercial, low-contrast portraits. A key plus a back light without fill produces dramatic, shadow-heavy portraits with strong separation from the background.
Three-light setups (full key plus fill plus back) are the standard for commercial portraiture, headshots, and any work where the lighting needs to look polished without being dramatic.
Four-or-more-light setups add background lights (to color or shape the backdrop), kicker lights (for additional rim or accent on the subject), or specialty lights for hair, eyes, or specific surface textures. Once you are using four or more lights, you are doing commercial production work and the three-point system is the foundation everything builds on.
Three-point lighting for products
The same framework applies to product photography with small modifications. The key light defines the product’s main surface and texture. The fill controls the depth of shadow on the opposite side. The back light separates the product from the background and adds highlight to the back edge.
The main difference: products often need additional lights to control reflections on glossy or transparent surfaces. A bottle of perfume might use a key, a fill, a back light, plus two side lights (one on each side) to manage reflections on the glass. The three-point framework is still the core, with extra lights solving specific reflection problems.
Three-point lighting for video
Cinematographers use the same three-point framework for video, with continuous lights (LED panels, HMI lamps, or tungsten lights) instead of flash. The terminology is identical: key, fill, back. The key-to-fill ratios are similar to still photography (2:1 to 4:1 for most narrative work).
The differences in video execution: key lights are often softer (a large softbox or diffused HMI) to handle subject movement gracefully, fill is often a soft reflector or low-power LED panel, and back lights are crucial in video for keeping moving subjects separated from moving or complex backgrounds.
Putting it together
Start with the key light. Place it where it makes the subject look right, considering shape, texture, and the mood you want. Then assess the shadow side. If it is too deep, add fill (a reflector, a second light, or both) until the shadow side reads correctly for the look. Finally, assess subject-to-background separation. If the subject blends into the background, add a back light to create rim separation.
For more on the gear that supports controlled lighting, see our guides on golden hour versus blue hour for natural light planning and depth of field mastery for how lighting interacts with aperture choices. Three-point lighting is the framework. Everything else in studio and controlled-light work is variation on these three roles.
Frequently asked questions
Do I need three actual lights to do three-point lighting?+
No. The key light is essential, but the fill and back can come from reflectors, ambient room light, or windows. A typical natural-light portrait uses the window as key, a white wall or foam board as fill, and a lamp behind the subject as back light. The principle is about controlling brightness ratios between the three roles, not about owning three flashes. Many working photographers shoot full sessions with one studio strobe as key plus reflectors and ambient light for fill and back.
What is a good key-to-fill ratio for natural-looking portraits?+
Between 2:1 and 4:1, meaning the key is two to four times brighter than the fill. A 2:1 ratio (one stop difference) produces soft, low-contrast lighting that flatters most faces and reads as natural. A 4:1 ratio (two stops difference) produces more dramatic lighting with visible shadows on the shadow side of the face. For commercial beauty work and beauty editorial, ratios closer to 1.5:1 are common. For dramatic editorial portraiture and film noir styles, ratios of 8:1 or higher create strong shadow patterns.
Can I do three-point lighting with continuous lights or do I need flash?+
Both work. Continuous lights (LED panels, fluorescent banks) are easier for beginners because what you see is what you get: the lighting effect is visible in real time, no test shots needed. Flash gives more power for less heat, freezes motion at faster shutter speeds, and overpowers daylight when needed for outdoor work. For most studio portrait and product work in 2026, modern bi-color LED panels (Aputure, Godox, Nanlite) at 100W to 300W are bright enough to compete with mid-power strobes.
What is the difference between hair light and back light?+
Position and purpose. A back light sits behind the subject and points at the camera, creating rim light around the entire silhouette and helping separate subject from background. A hair light sits above and behind the subject and points down at the hair, adding highlight only to the top of the head. Both are sometimes lumped together as the third light in three-point lighting, and many setups use one or the other depending on the look. Beauty portraits often use a hair light. Cinematic portraits often use a back light.
How does three-point lighting translate from photography to video?+
Almost directly. Cinematographers borrowed three-point lighting from still photography in the 1920s and 1930s. The terminology is identical. The differences in execution: video uses continuous lights (LED or HMI) rather than flash, the key light is often softened more for moving subjects, and back lights are critical in video for separating the subject from the background as they move. The mental model of key plus fill plus back applies to everything from a TikTok talking-head video to a Hollywood feature film.